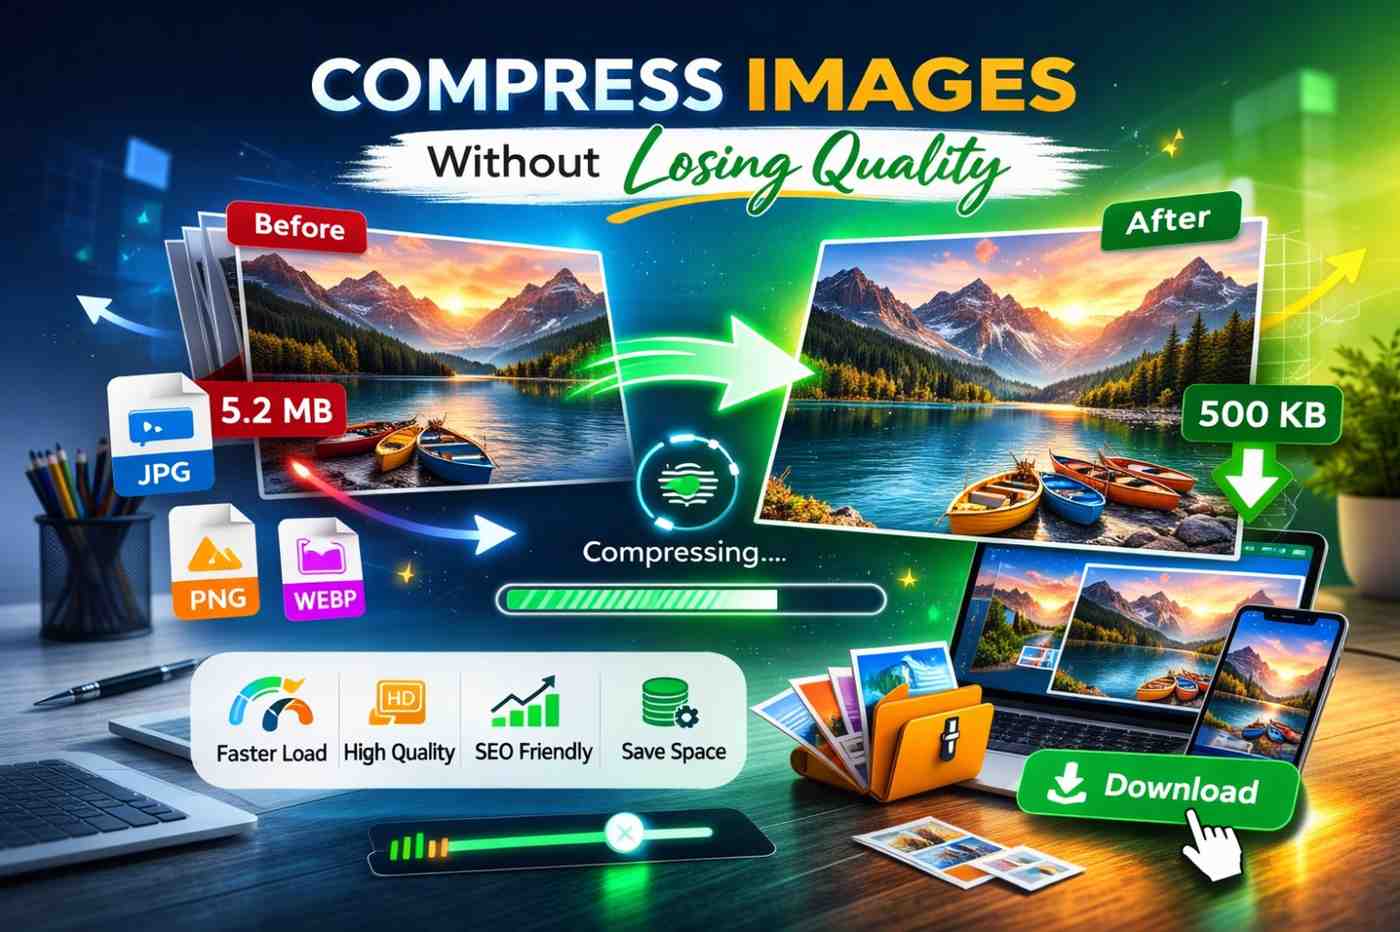
Images make your website attractive, engaging, and professional. But large image files can slow down your website, increase bounce rates, and hurt your SEO rankings. The good news? You can compress images without losing quality — if you do it the right way.
In this step-by-step guide, you’ll learn how image compression works and how to reduce image size easily using Toolery Image Compressor.
Why Image Compression Is Important
Before we jump into the steps, let’s understand why image compression matters:
-
Faster website loading speed
-
Lower bounce rate
-
Better SEO rankings
-
Improved mobile performance
-
Reduced storage usage
Google considers page speed a ranking factor. If your images are too heavy, your website performance suffers — especially on mobile devices.
Step 1: Understand Image Compression Types
There are two main types of compression:
Lossy Compression
This reduces file size significantly by removing some image data. If optimized properly, the quality difference is almost invisible to the human eye.
Lossless Compression
This reduces file size without removing important image details. It keeps original quality but may not reduce size as much as lossy compression.
For websites, a balanced lossy compression is usually the best option.
Step 2: Choose the Right Image Format
Choosing the correct format helps maintain quality while reducing file size:
-
JPG/JPEG – Best for photos
-
PNG – Best for graphics with transparency
-
WebP – Modern format with smaller file size and good quality
If you want better compression, converting images to WebP can reduce file size by up to 30–50% compared to JPG.
Step 3: Use Toolery Image Compressor
The easiest way to compress images without losing visible quality is by using Toolery Image Compressor.
How to Use It:
-
Visit the Toolery Image Compressor page
-
Upload your image (JPG, PNG, or WebP)
-
The tool automatically optimizes the image
-
Download the compressed image instantly
That’s it — no technical skills required.
Toolery uses smart optimization to maintain image clarity while reducing unnecessary data. The result? Smaller file size with almost identical visual quality.
Step 4: Check Image Quality After Compression
After compressing, always:
-
Zoom in to check clarity
-
Compare original vs compressed version
-
Ensure text and edges remain sharp
If quality drops too much, slightly reduce compression level.
Step 5: Optimize Images for Web Use
Even after compression, follow these best practices:
-
Resize images before uploading (don’t upload 4000px images for 800px display)
-
Use correct dimensions for social media platforms
-
Add descriptive file names (e.g., image-compression-guide.jpg)
-
Add alt text for SEO
These small steps improve performance and search visibility.
Common Mistakes to Avoid
❌ Uploading raw camera images directly to website
❌ Ignoring image dimensions
❌ Using PNG for large photos
❌ Compressing multiple times repeatedly
Always keep one original backup copy of your images.
Final Thoughts
Image compression is not just about reducing file size — it’s about improving website performance, SEO, and user experience.
With Toolery Image Compressor, you can:
-
Reduce image size in seconds
-
Maintain high visual quality
-
Improve page loading speed
-
Optimize images for SEO
Whether you are a blogger, web developer, digital marketer, or student, image optimization should be part of your daily workflow.
Start compressing your images today and make your website faster, lighter, and more professional.

Leave a Reply